SHARKEY FARM
  • Boarding
  • Services
  • IEA
  • Forms
  • Team Sharkey
  • News

Goodbye to the Garden

6/17/2014

1 Comment

 
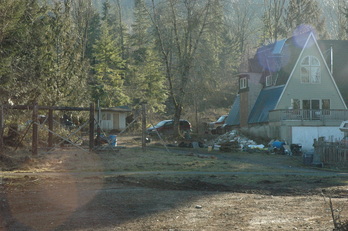
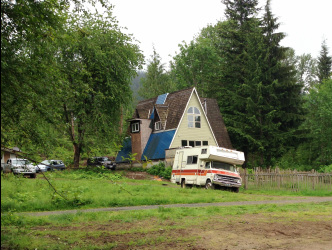
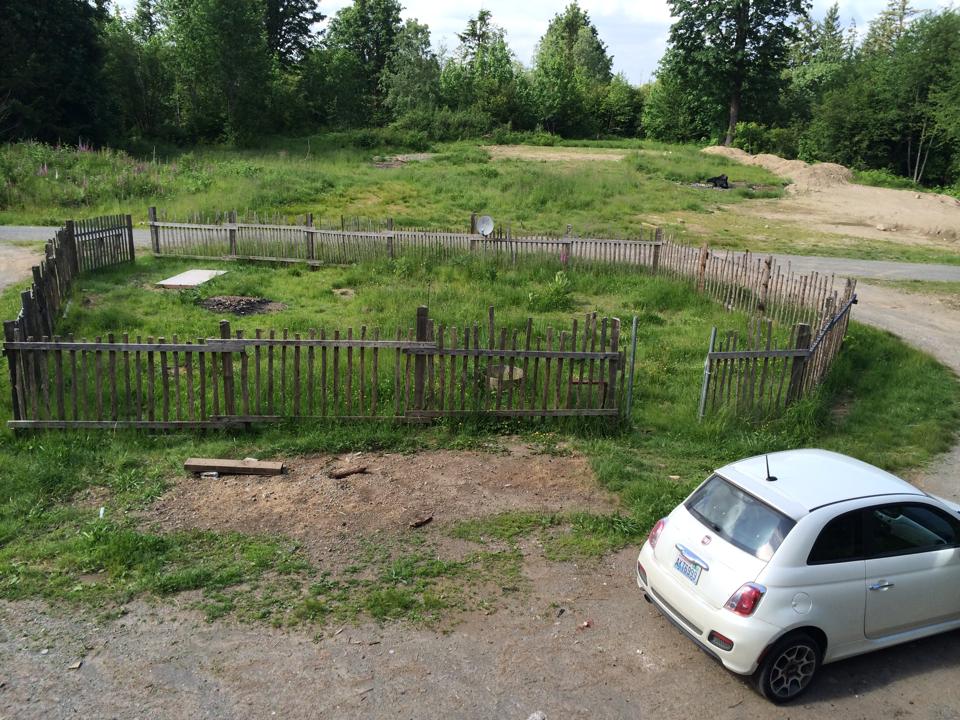
One of our least favorite features of the house was the rustic garden fence.  It was directly in front of the house, was the first thing you came upon as you drove up, and served virtually no purpose as the garden inside was really just a bunch of weeds and overgrown grasses.  In addition to this, we really needed the space to fit Lynda and Terry's RV, so the fence, at a minimum, had to be pulled back.
Picture
Terry took the first crack at the fence, taking out a few sections in a matter of hours.
Picture
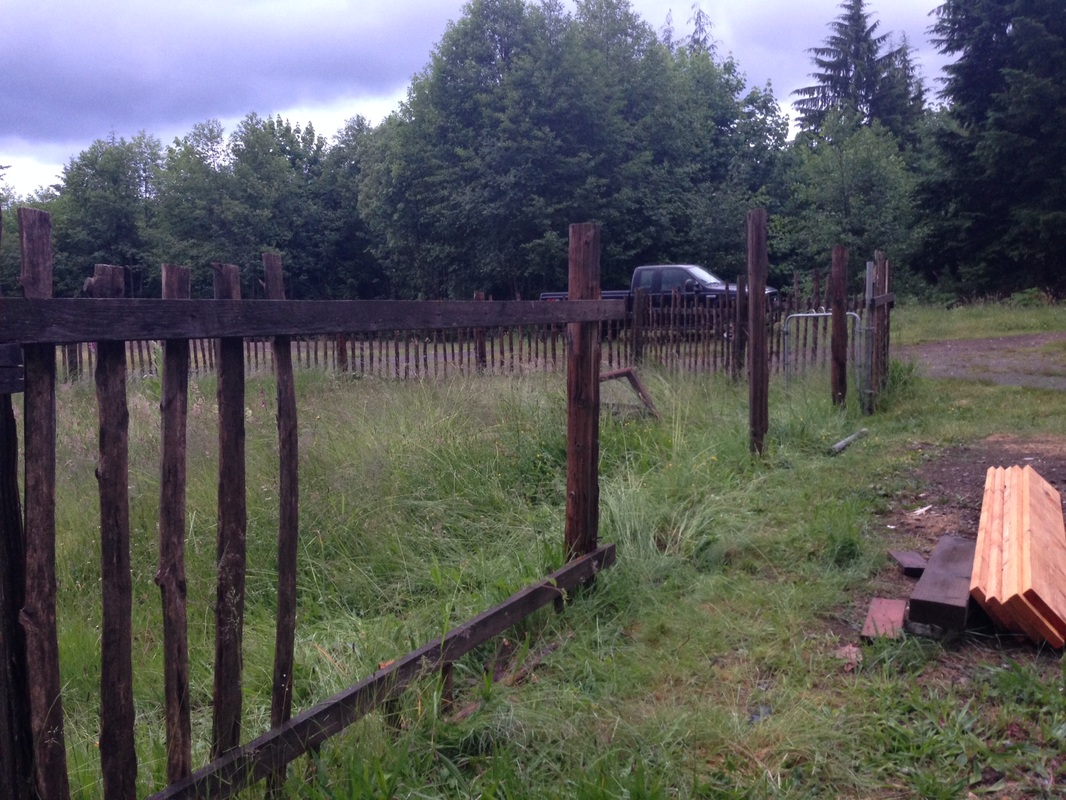
Progress on the fence.
We did realize that this was maybe not the most efficient way to remove the fence, so shortly thereafter we started sledgehammering the fence and ignoring the task of removing all the nails.  This worked really well for the fence boards, but it was not very successful at removing the split rail posts.  For those, we needed a little help.  

Pete suggested trying to use a vehicle to tip the posts over and pull them out.  This idea sounded a lot easier than digging each post out by hand, not to mention a lot more fun, so we figured we could at the very least give it a shot. As the truck was tied up with tree trimming and branch hauling to the burn pile, Pete came up with the idea of using his Prius instead... and if it worked it would be hilarious!
And, no joke, it totally worked.  This must be what happens when city folk move to the country.
Picture
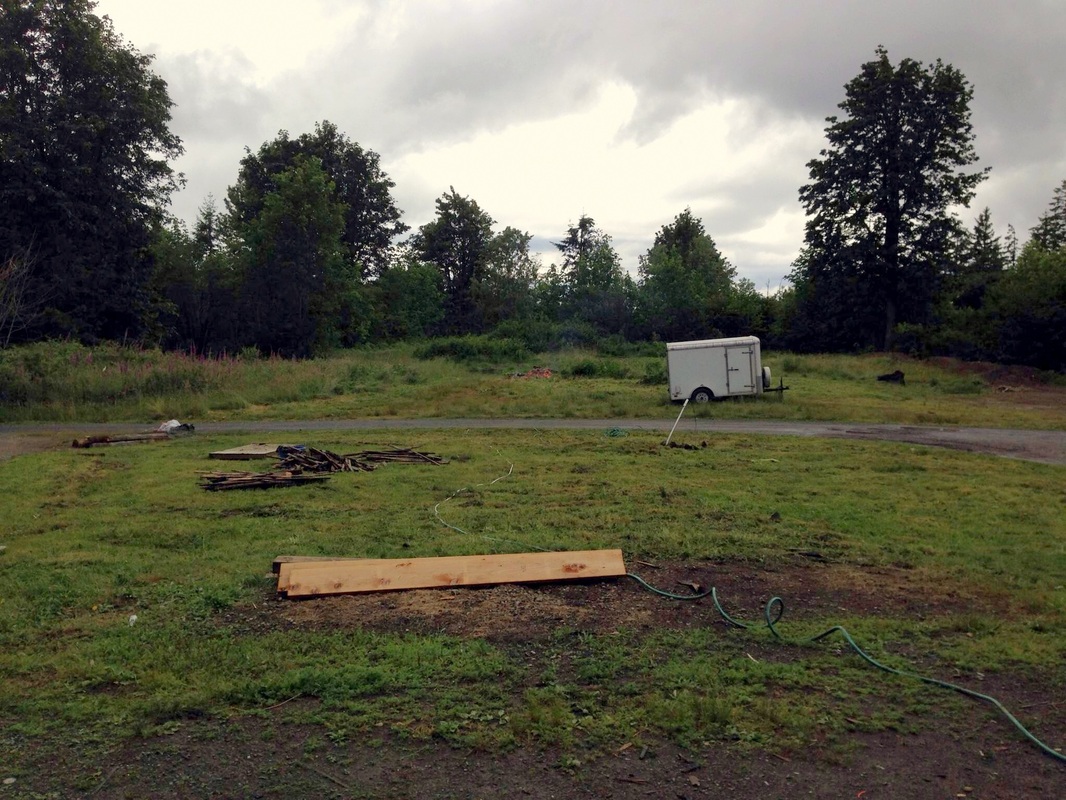
The final product! Way more open and a lot less rustic.
1 Comment

For the love of heat

6/11/2014

0 Comments

 
We knew that propane was going to be a potential issue, as the previous owner had rigged a system of 5 gallon propane tanks to the water heaters to avoid paying for a full tank of propane.  
Picture
Ted's propane system.
Doing this, we figured, likely had messed with the connection between the house and the tank and had caused some damage.  Pacer initially told us that we would not be able to get the tank inspected for damage and subsequently refilled until the end of the month, which would have left us without heated water for another two weeks.  

This is one of those situations where being married to a lawyer is useful - a secondary call later and the inspector was scheduled to come out the following morning.  The inspector was aghast - the previous owner had bent several important pipes and cut off a connection that was integral to create a junction for the 5 gallon tanks (all the while, there is a connection where it would have been simple to connect a smaller tank to the main one). He did leave us a lovely folding chair that was originally used to hold the small canisters of propane, so score one for the lawn furniture!

Much grumbling of both husband and inspector later, we have propane running into the house and water that does heat up.  This, however, made it apparent that our gas stove is not currently working... but that is another project for another day.  
Picture
The tank after rudimentary fixes to the line. Tank mounting system still evident in the folding chair.
0 Comments

The Well Saga

6/8/2014

0 Comments

 
The house, when we did our final walk through, had water.  Like legitimate, warm, working water.  The house, on the day we closed, did not have water, of any form or temperature.  What happened next was the first of our real introductions into the mind of the man from whom we bought this property.

Initial inspections showed that there was possibly no electricity going to the pump house, so a call to PSE was first on the agenda.
Picture
PSE calls back and says nope, the power is hooked up, it must be a problem on our end. We then get the phone number of Ted, the previous owner, who tells us that "vandals" stole the wiring for the pump, and that must be the problem.  Clearly if there was vandalism, Ted did it himself.

Pete, Kate's dad, takes this as a opportunity to work on some of the less than correctly installed features of the well.
Picture
Shutoff valve (red knob) installed by Well Meister Pete. PVC piping installed to new pressure tank location.
Picture
Pressure switch added to its proper location, next to the tank.
Evidently it is a bad plan to have the pressure switch and pressure tank 300 feet from each other (hint: this kills the expensive metal chunk in the ground... this becomes important later).
Picture
Pressure tank installed in its proper location, next to the well.
Luckily we had the number of the local well guy - the same one who drilled this well in 1971 - thoughtfully given to us by the neighbor.  We call the well guy - hereinafter referred to as "the Texan" - and after a long, drawn out conversation with his wife, schedule a looksie for the next morning at 9:30 am.  

Terry cancels all of his appointments for the next day and loiters around the property waiting for the Texan to arrive.  At around 2 pm, with no sign of him and no response on his cell phone, Terry finally gets through to the wife, who has no idea where the Texan might be.  At about 3pm, he is reached on his phone and he arrives a little over an hour later.  

He does a quick assessment, says there is likely one of two problems, and for both of them we need to pull up the pump.  Our choices are: pump is broken or wiring is broken.  Neither is good, but both are fixable.  We agree to have the pump crew out the next day (hopefully on time this go-round) to check out the pump.

The next morning the well truck arrives.  It is the best the 1980s had to offer. Went well with our pump house and assembly.
Picture
Gage and his no-so-much English speaking friend (green hoodie) arrive to pull the dead gear out of the hole, anticipating an easy fix.
Picture
Removing the pump and piping from the well.
Dead pump.  Note the pump is made of a pump (upper portion) and motor (lower portion).  This will be important later.  The well head is on the left.
Picture
As they pulled out the pump, the guys noted that the piping for the water was... less than sufficient.  What should have been either rigid PVC or stainless tubing was actually a flimsy tubing that was easily bent.  Decision #1 was to replace this tubing with stainless when the new pump was put in.
Picture
Pulling the piping from the well.
Picture
Piping should not kink this easily.
Picture
The new, significantly more expensive, 3/4 horsepower pump.
Decision #2: The previous pump was probably fried when Ted installed the pressure tank in the house instead of next to the well.  We choose to put in a replacement pump.  It was installed at noon.  Pressure tests along the line show that the pressure tank is not reaching full PSI of 80 and is instead capping out at 70.  Gage and friend attempt to call the Texan for the next four hours to establish probable cause.  Texan advises that the pump might be the wrong horsepower, despite the pump being brand new.  Gage and friend pull the pump, verify that it is correct, reinstall, and call the grumpy Texan again.  This time the Texan advises that the motor specs and the pump specs might not match.  The pump is pulled again.  Gage and friend install a new, matching motor and reinstall down the hole.  Problems persist as the pump should be able to reach 113 PSI.  It still caps out at 70.  Extensive diagnostics continue for several hours, including pulling the pump several more times to verify bits of information. The crew finally quits around 9:00 pm.  
Picture
Verifying that pressure was not a problem at the well head.
At this point, we started looking for leaks along the line, and Terry broke out the divining rods.  He located the water lines, but we didn't find any leaks.  This was verified by the fact that pressures stayed steady at 70 PSI from the well head to the house. 
Picture
Terry witching the water.
The resolution, as it stands right now, is to pull the pump out (for the sixth or so time) and send it to the manufacturer for study.  It is advertised as being able to get to 113 PSI, but isn't operating to capacity, and even the Texan couldn't figure it out.  We do have running water, albeit at 40/60 PSI instead of the 60/80 that we should have.  
0 Comments

The Appliance Graveyard

6/7/2014

0 Comments

 
When we first came to this house, we were shocked by the amount of garbage, building supplies, furniture, and appliances that one person could accumulate, let alone be comfortable leaving outside of their home as "yard art."  By the time we moved in, the previous owner had gone through the property and moved a majority of the junk either to the dump or to the dead neighbor's house.  
Picture
Before
Picture
After (although the RV did leave as well)
The previous owner had removed a lot of his litter, the start of his poorly-planned garage, the construction scraps, and his yard cars.  We were pleasantly surprised by his willingness to clean up his mess, although it might have had something to do with the strongly written addendum to the sales contract that specified severe monetary penalties for failure to do so.  

Thus we felt as if we had won a small battle and would be starting with a property in decent working order with no outdoor mess.  Little did we really understand how much we would be adding to the yard detritus in the coming days.

Within 24 hours of moving in, we realized that there were three full sized appliances that didn't work at all and another two that were too gross for us to consider using.  And, in rural zone tradition, these (along with assorted cabinets that were removed) ended up decorating our yard while awaiting a trip to the appliance recycle.
Picture
Gardening with appliances.
Picture
The growing stack of things for the dump.
0 Comments

    Categories

    All
    Grounds
    Kitchen

    Archives

    April 2017
    March 2016
    January 2015
    December 2014
    November 2014
    October 2014
    September 2014
    August 2014
    July 2014
    June 2014

Powered by Create your own unique website with customizable templates.